
Megapixy: open source page
this page contains open source design files for my Megapixy project.
if you wish to build this project yourself, here is what to do:
- from OSHpark:
- order the Giger board.
- buy all the parts in the BOM from Digikey & Mouser.
- buy all the things listed in the Other Materials
- you may have to ask me for the micro-coaxial cable & receptacle!
- lasercut the acrylic+wood chassis.
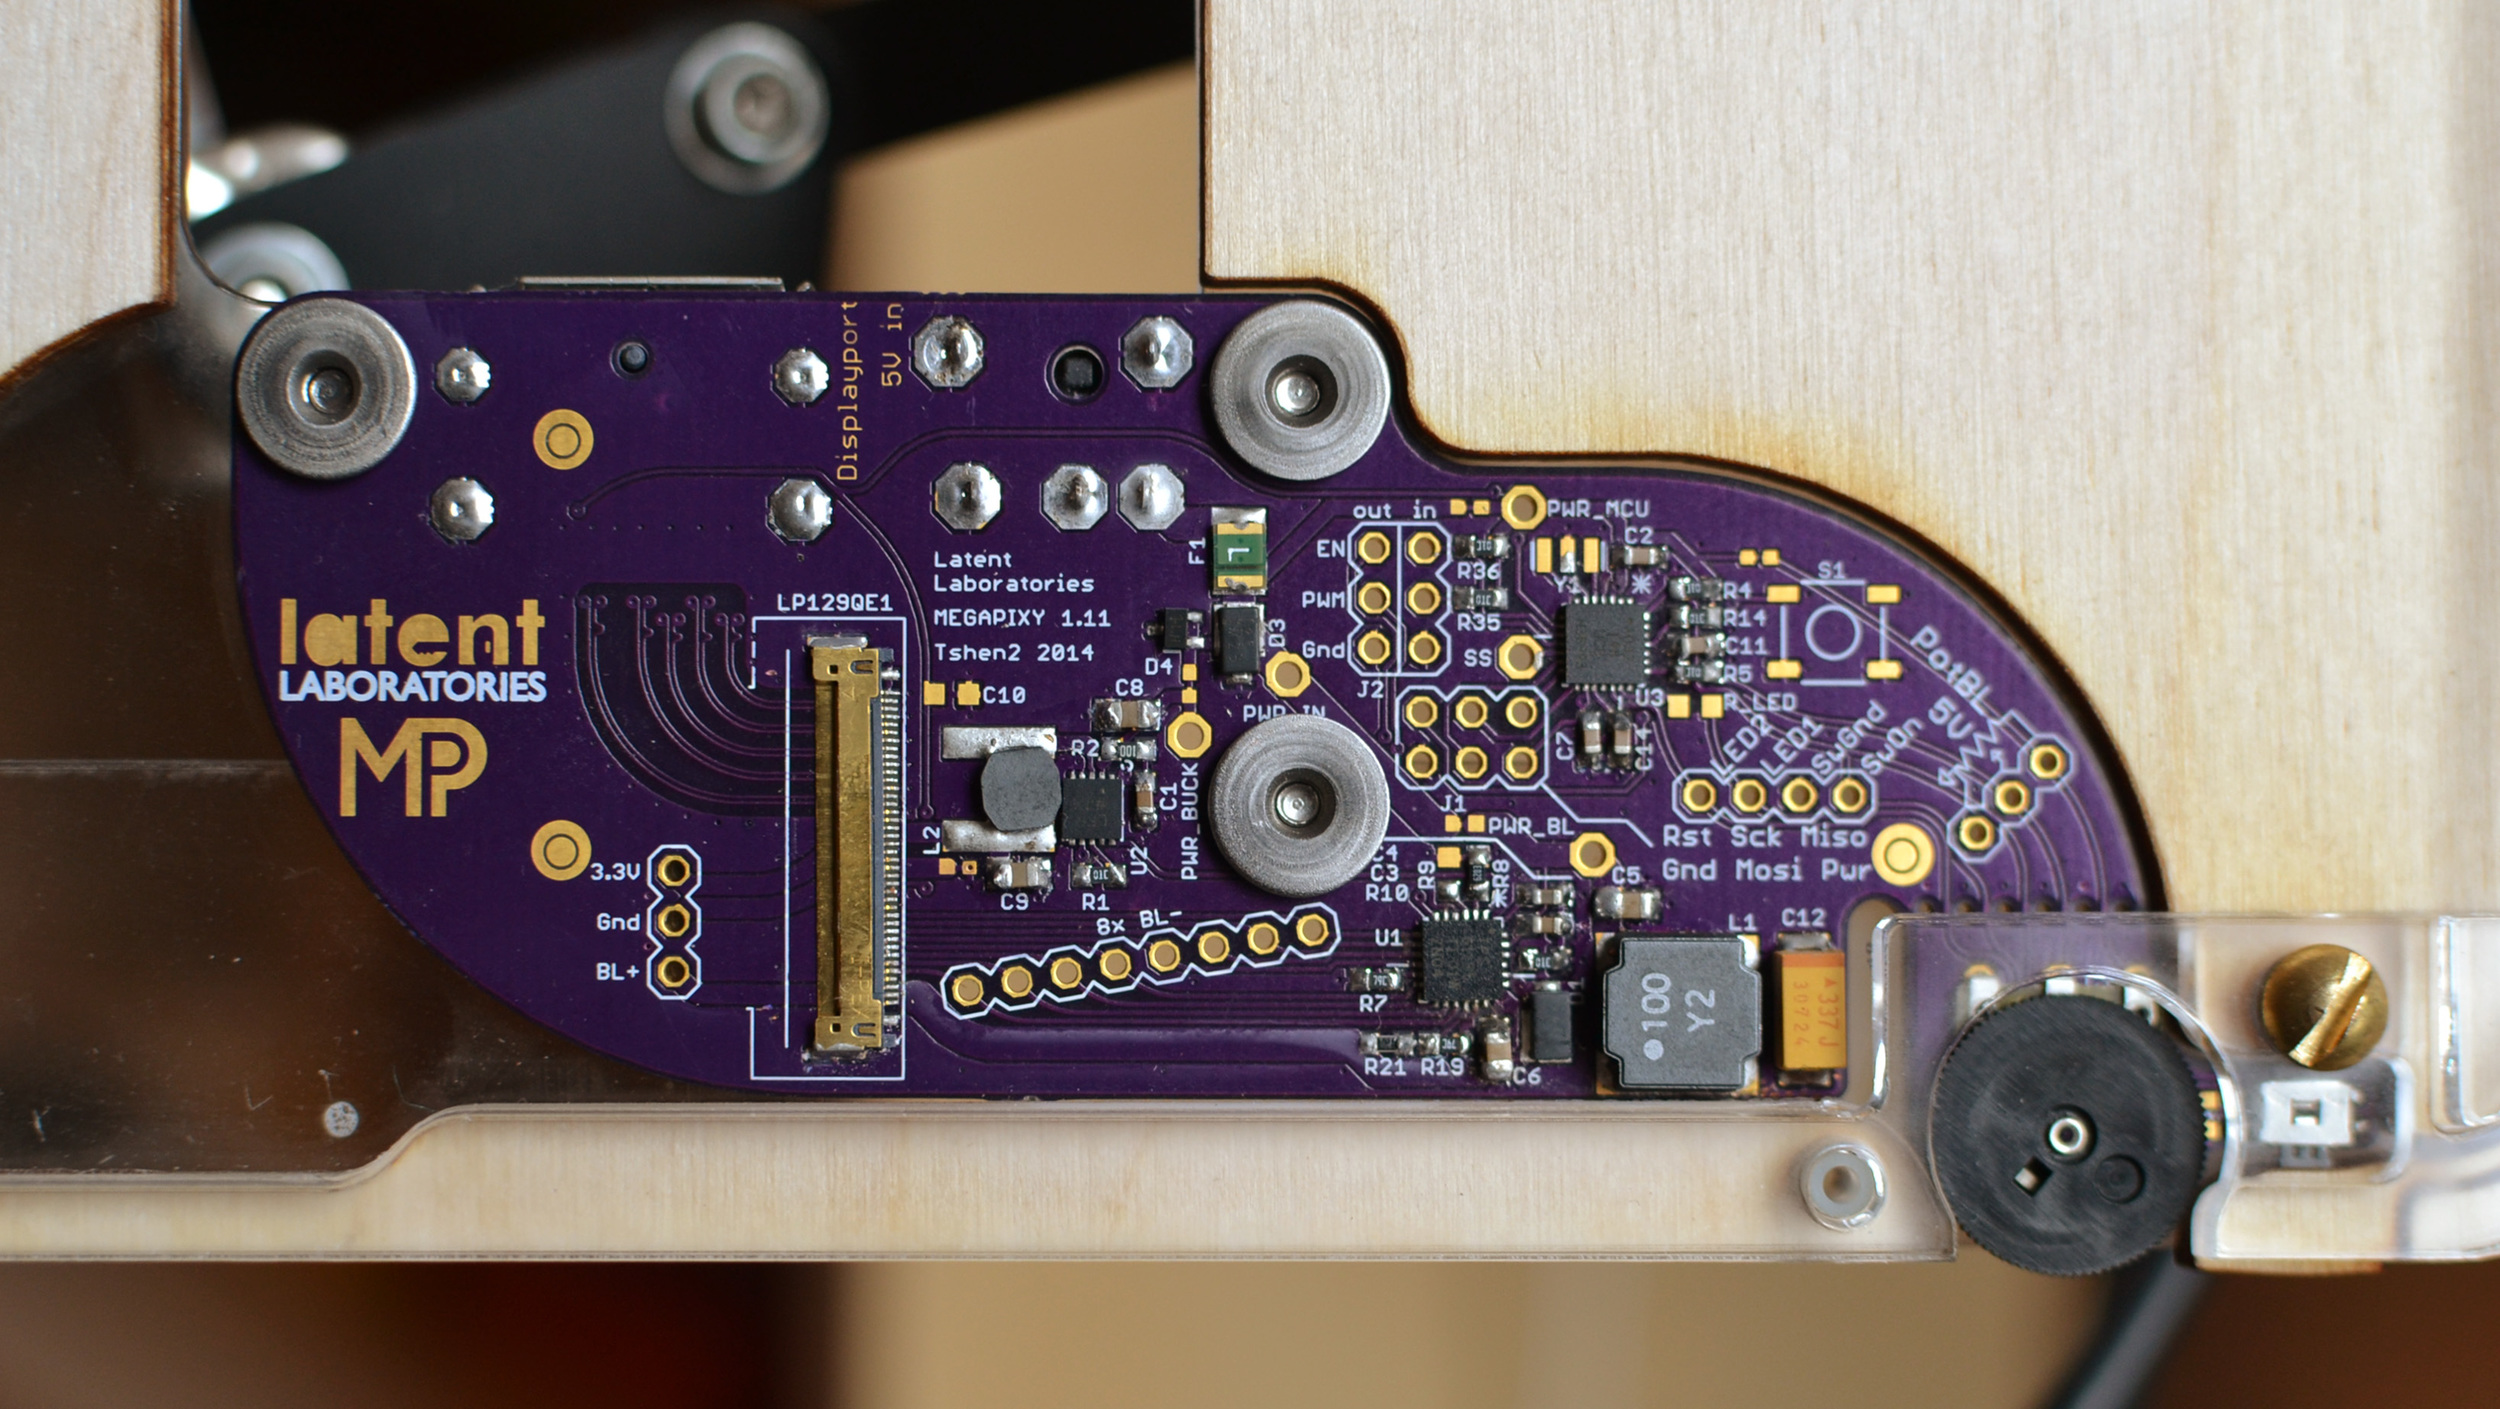
- assemble the Giger board once it arrives.
- program the microcontroller (Attiny48) on the Giger board.
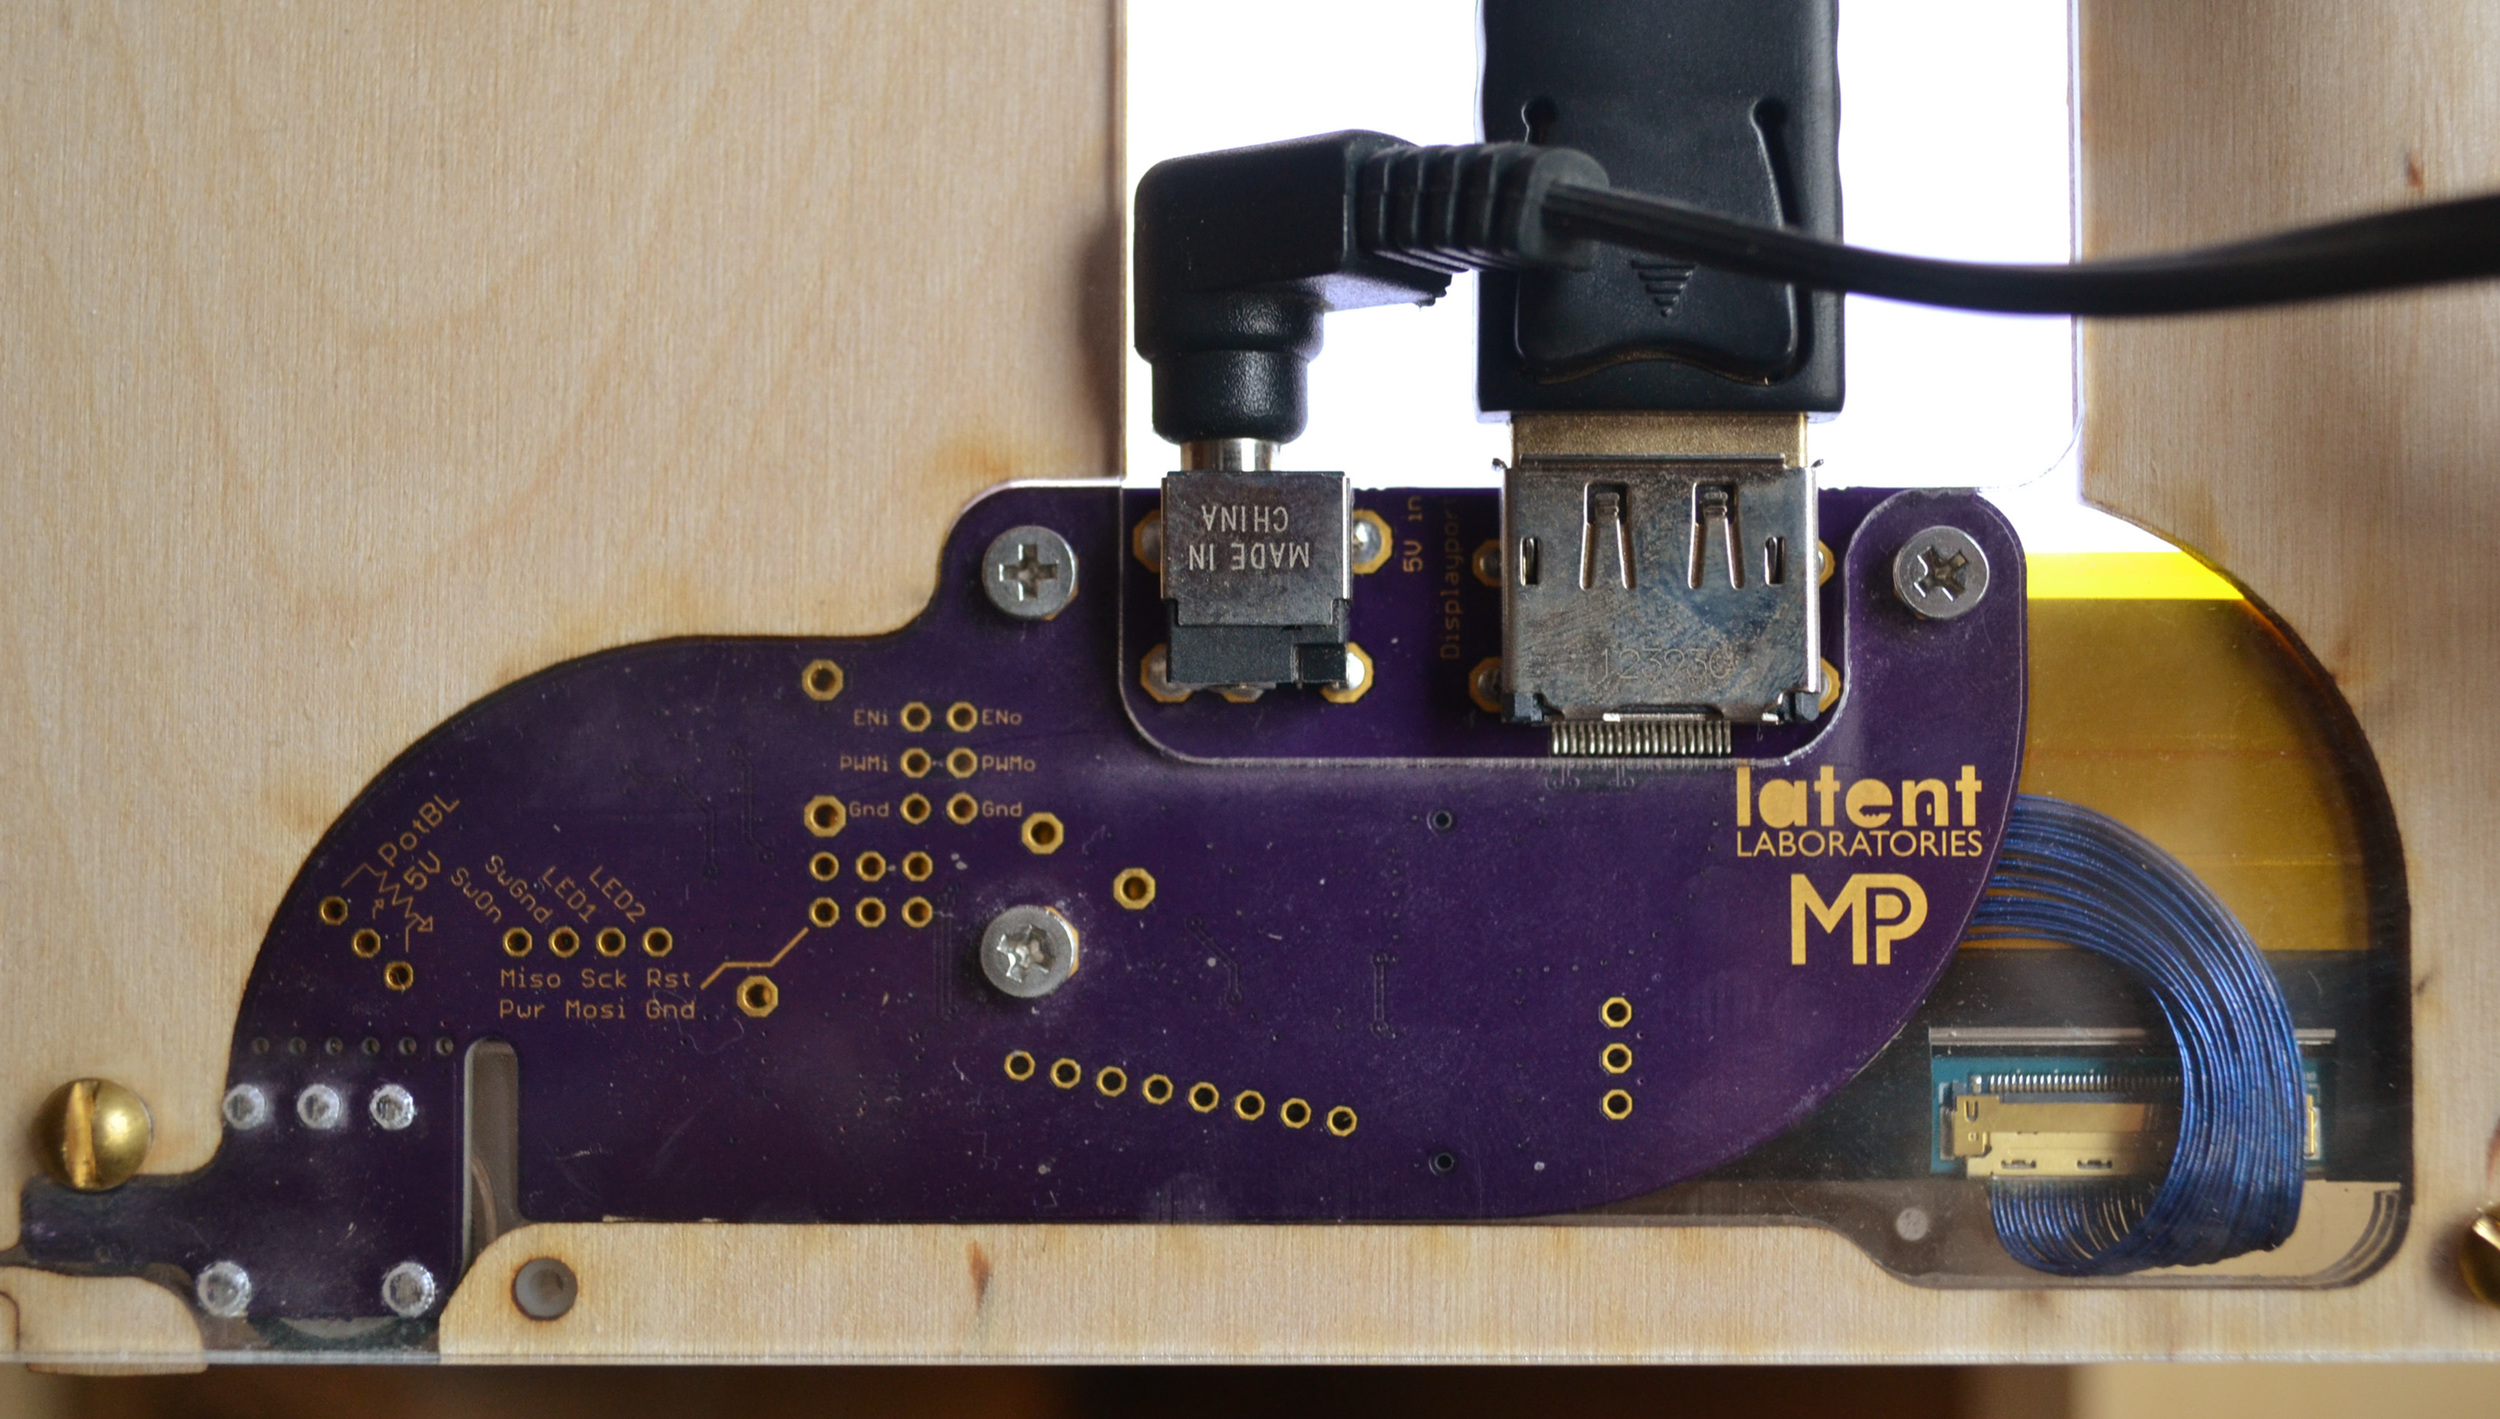
- put the whole thing together!
the files are split into these categories:
if you have questions, ask me here.
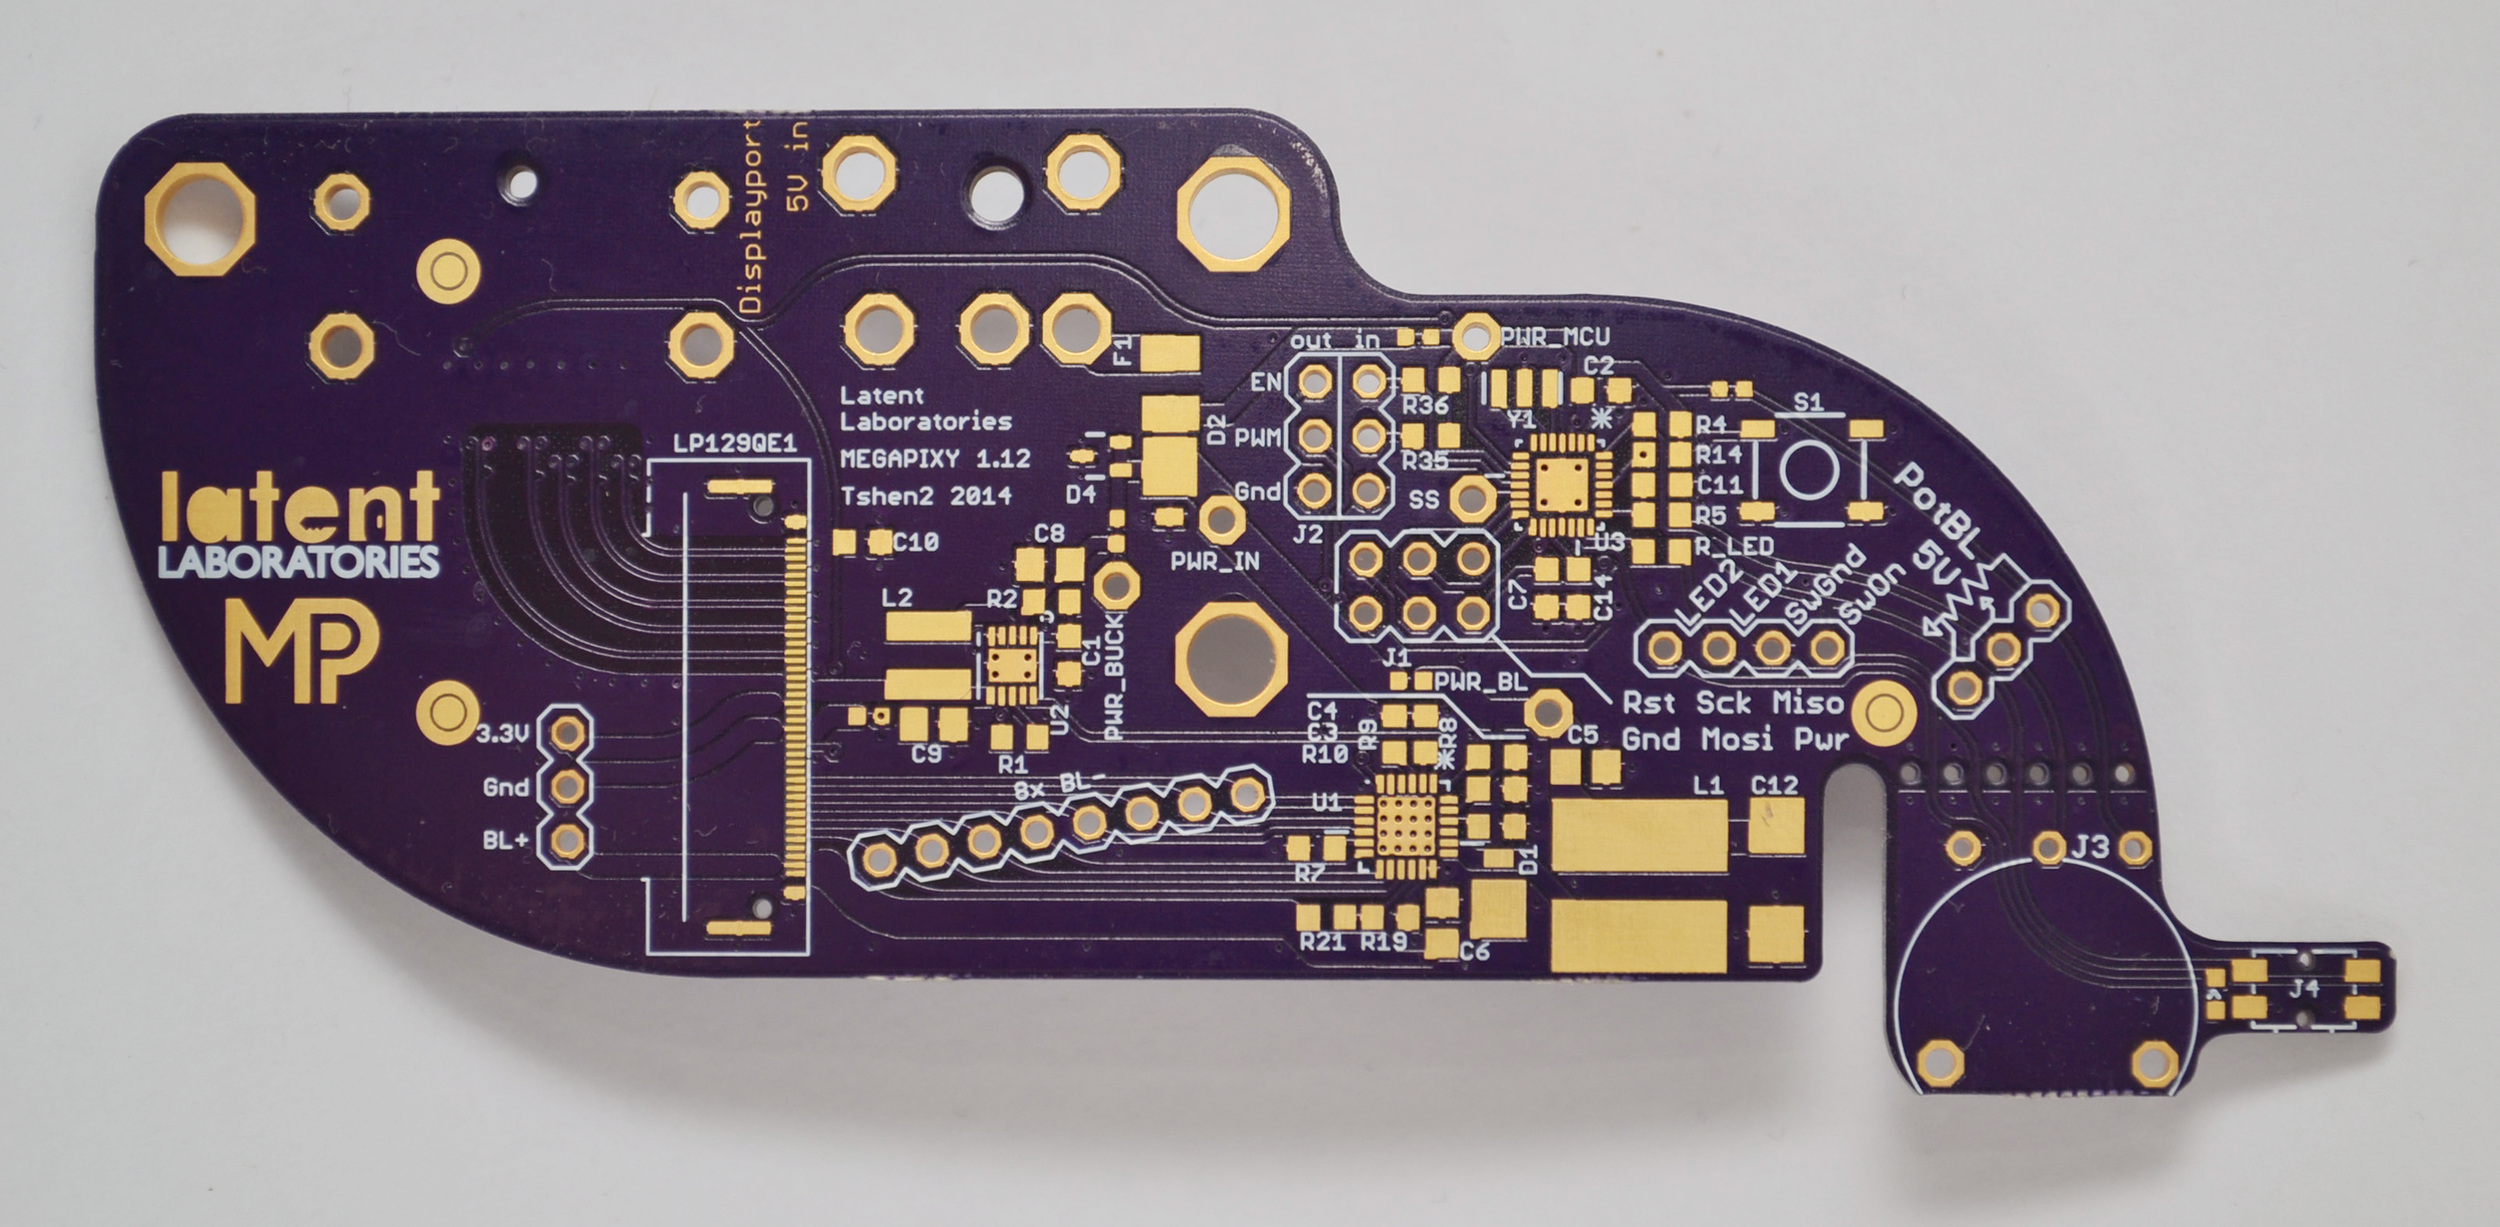
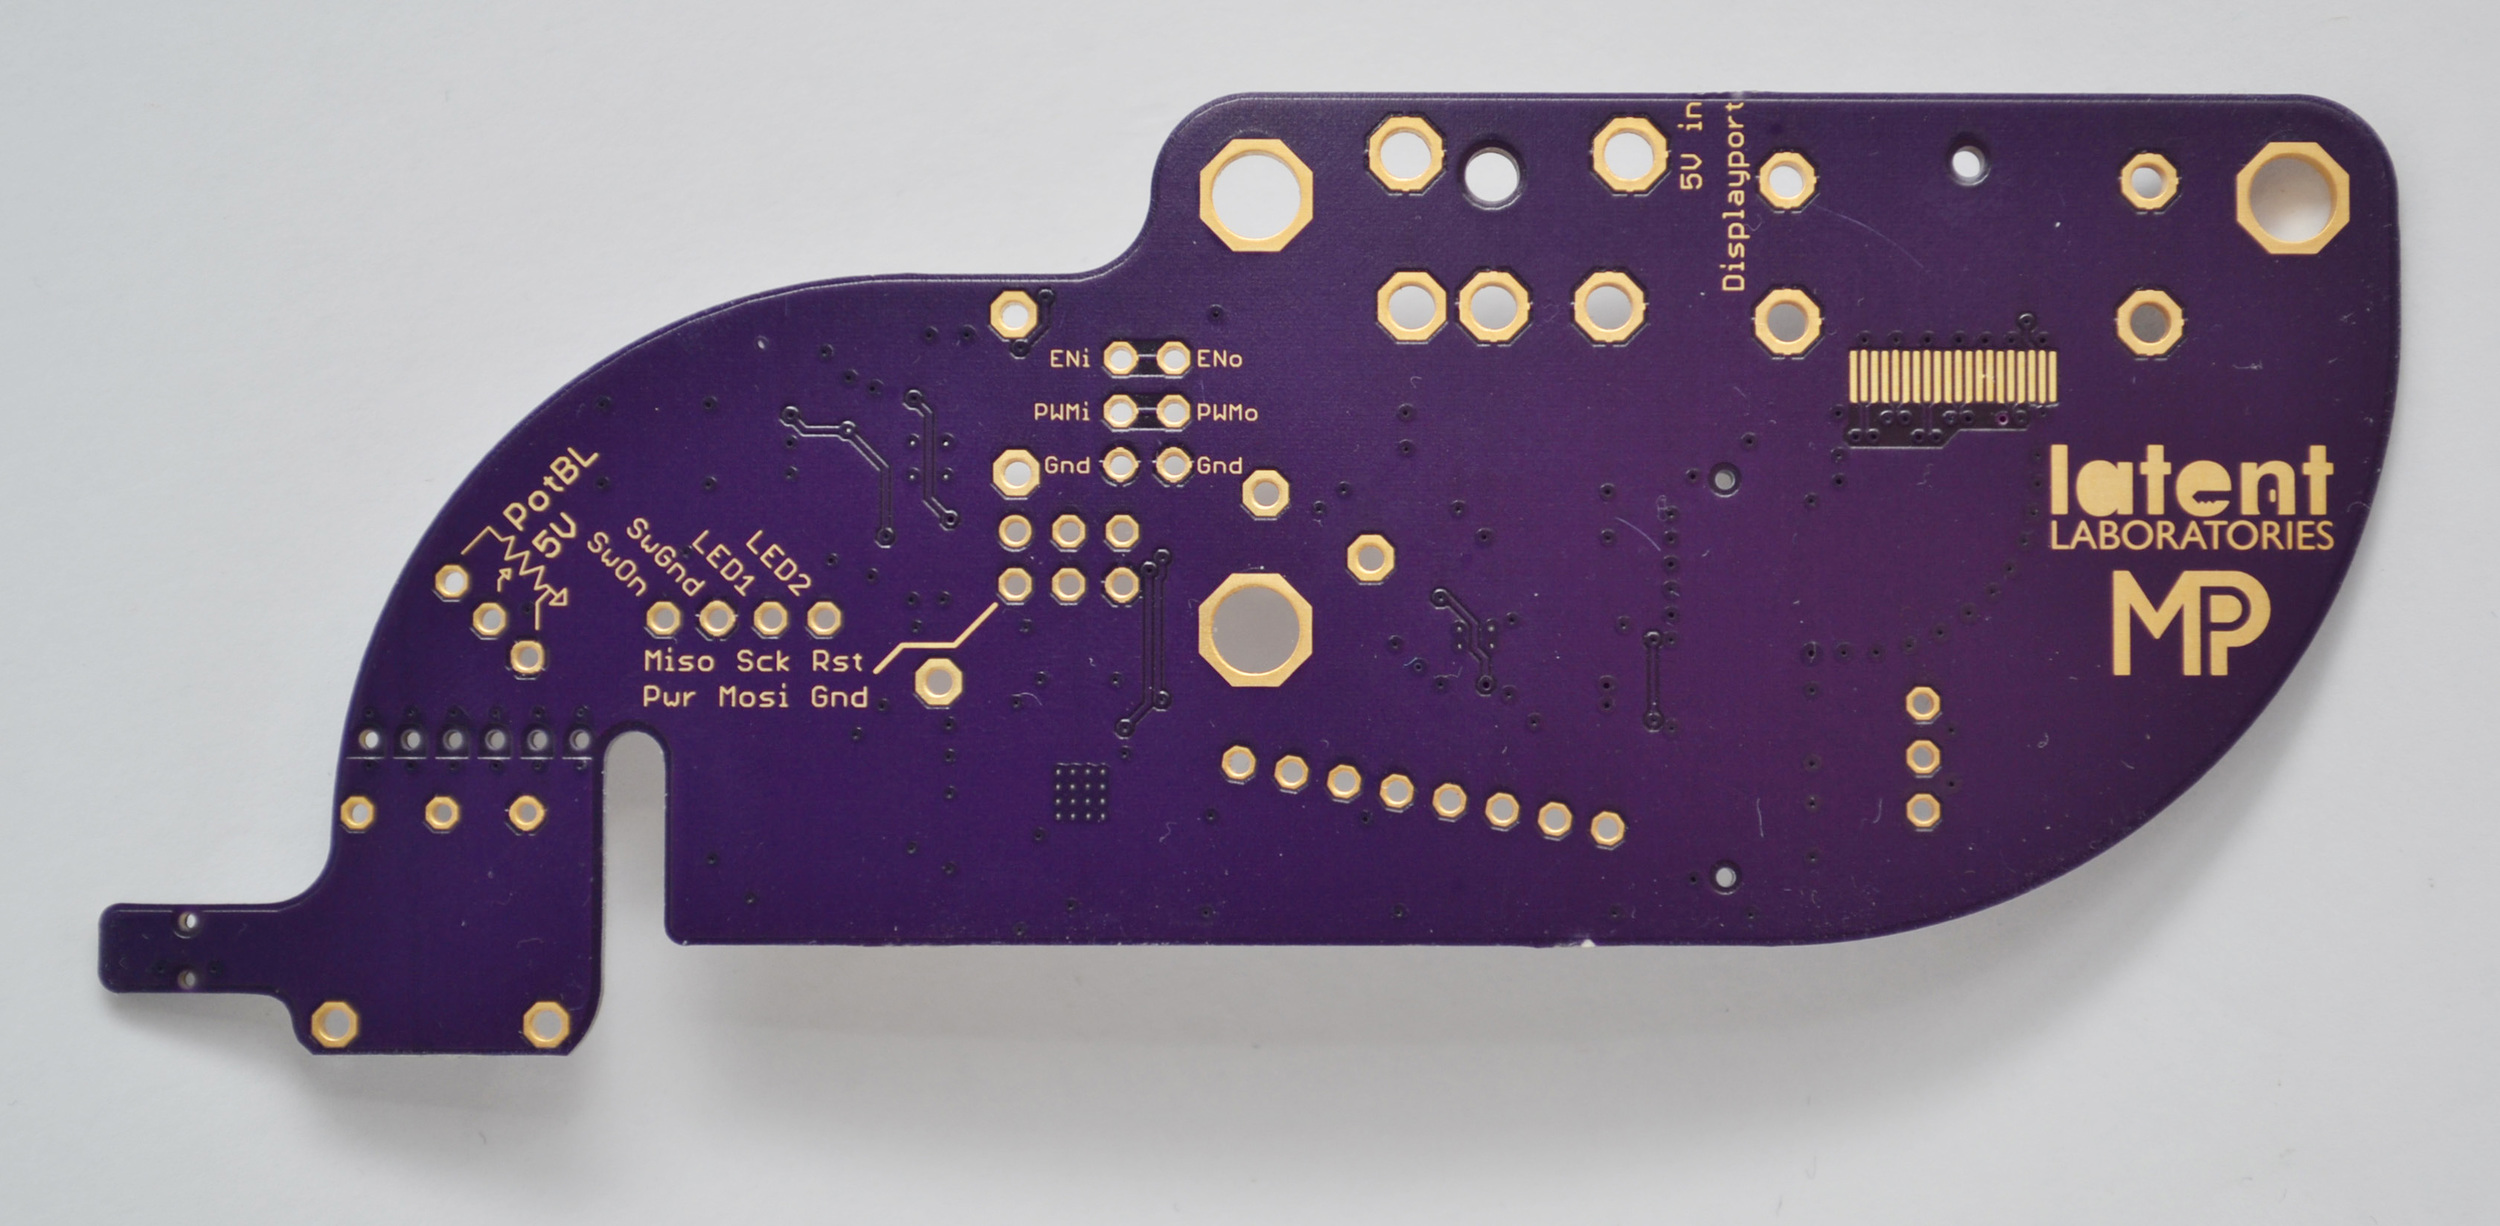
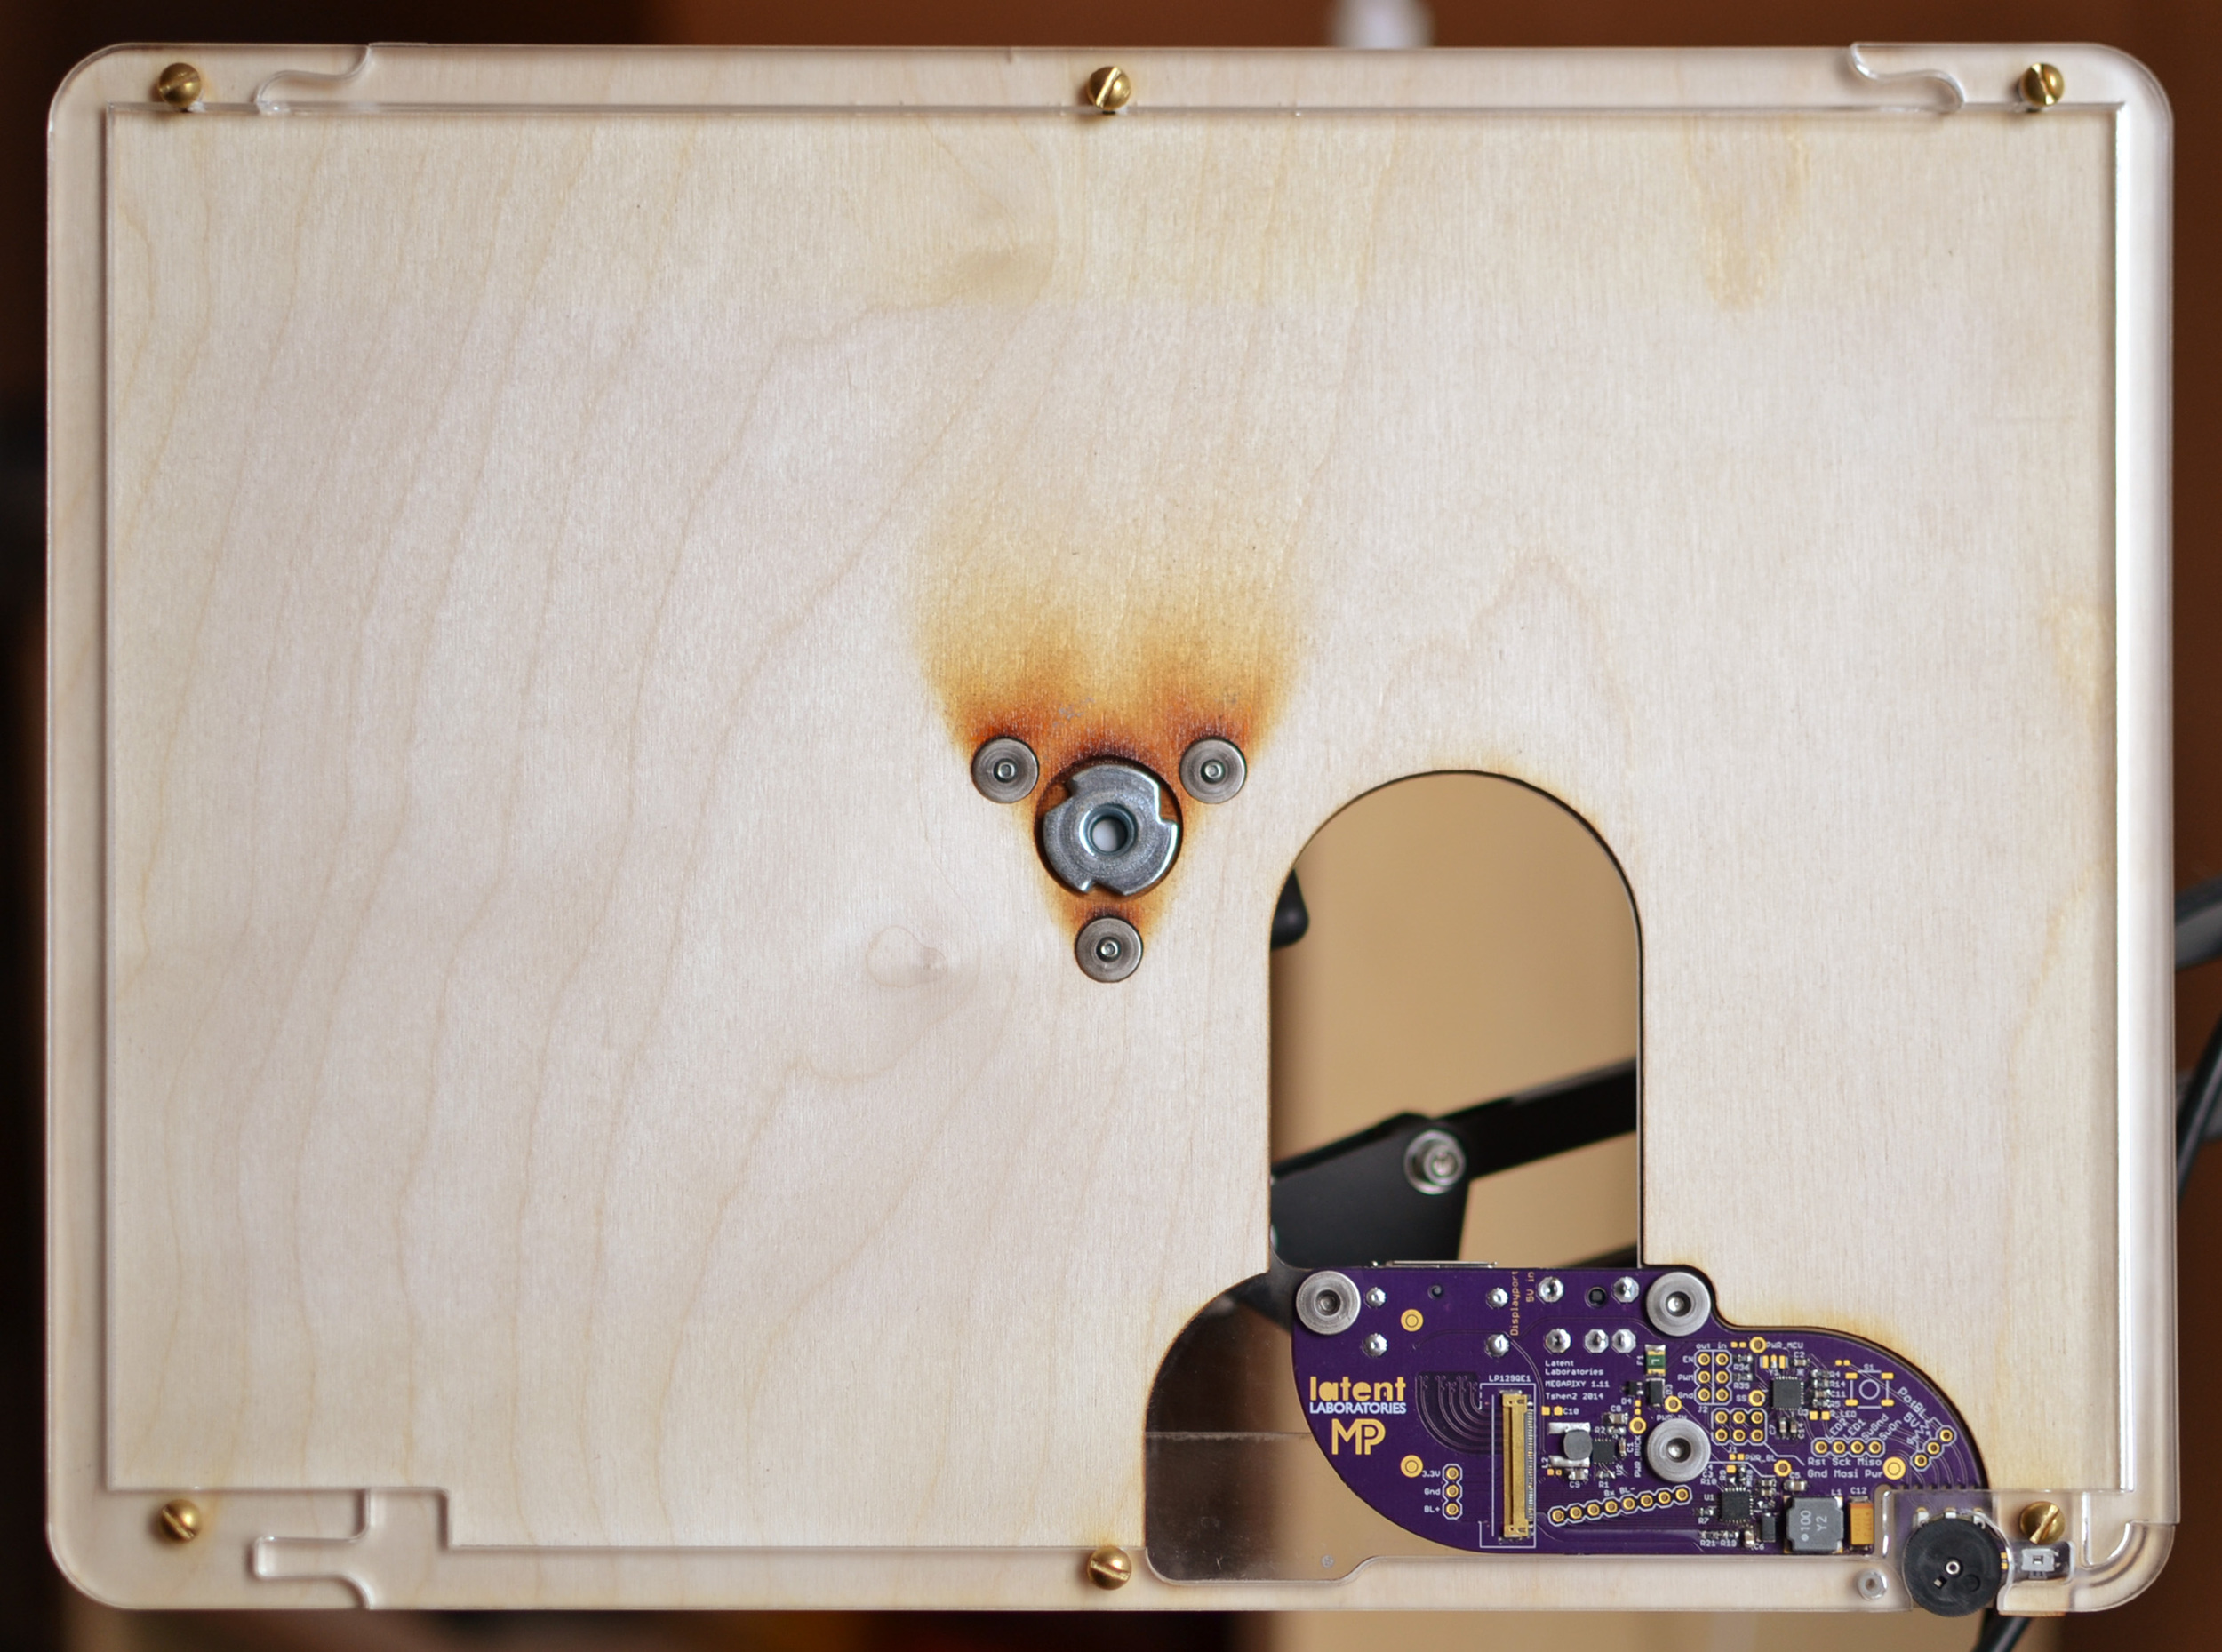
Giger board
Acrylic+wood chassis

Acrylic sheet (2mm, 0.08"):
- EPS files: bezel backplate
- CorelDRAW files (color-coded): all acrylic (png)
- Color code (in order): purple (etch surface), yellow (etch ~0.6mm), red (cut), green (cut), blue (cut), cyan (cut), black (cut)
- i buy my acrylic sheets from Amazon.
Baltic Birch plywood (1/8"):
- EPS files: backplate
- CorelDRAW files (color-coded): all plywood (png)
- Color code (in order): yellow (etch ~1.1mm), red (cut), green (cut), black (cut)
- i buy my Baltic Birch plywood from Boulter Plywood.
Assembly notes:
- required hardware is listed in other materials below.
- i recommend that you isolate the Giger board from the metal on the screen's back, by coating the metal with Kapton tape.
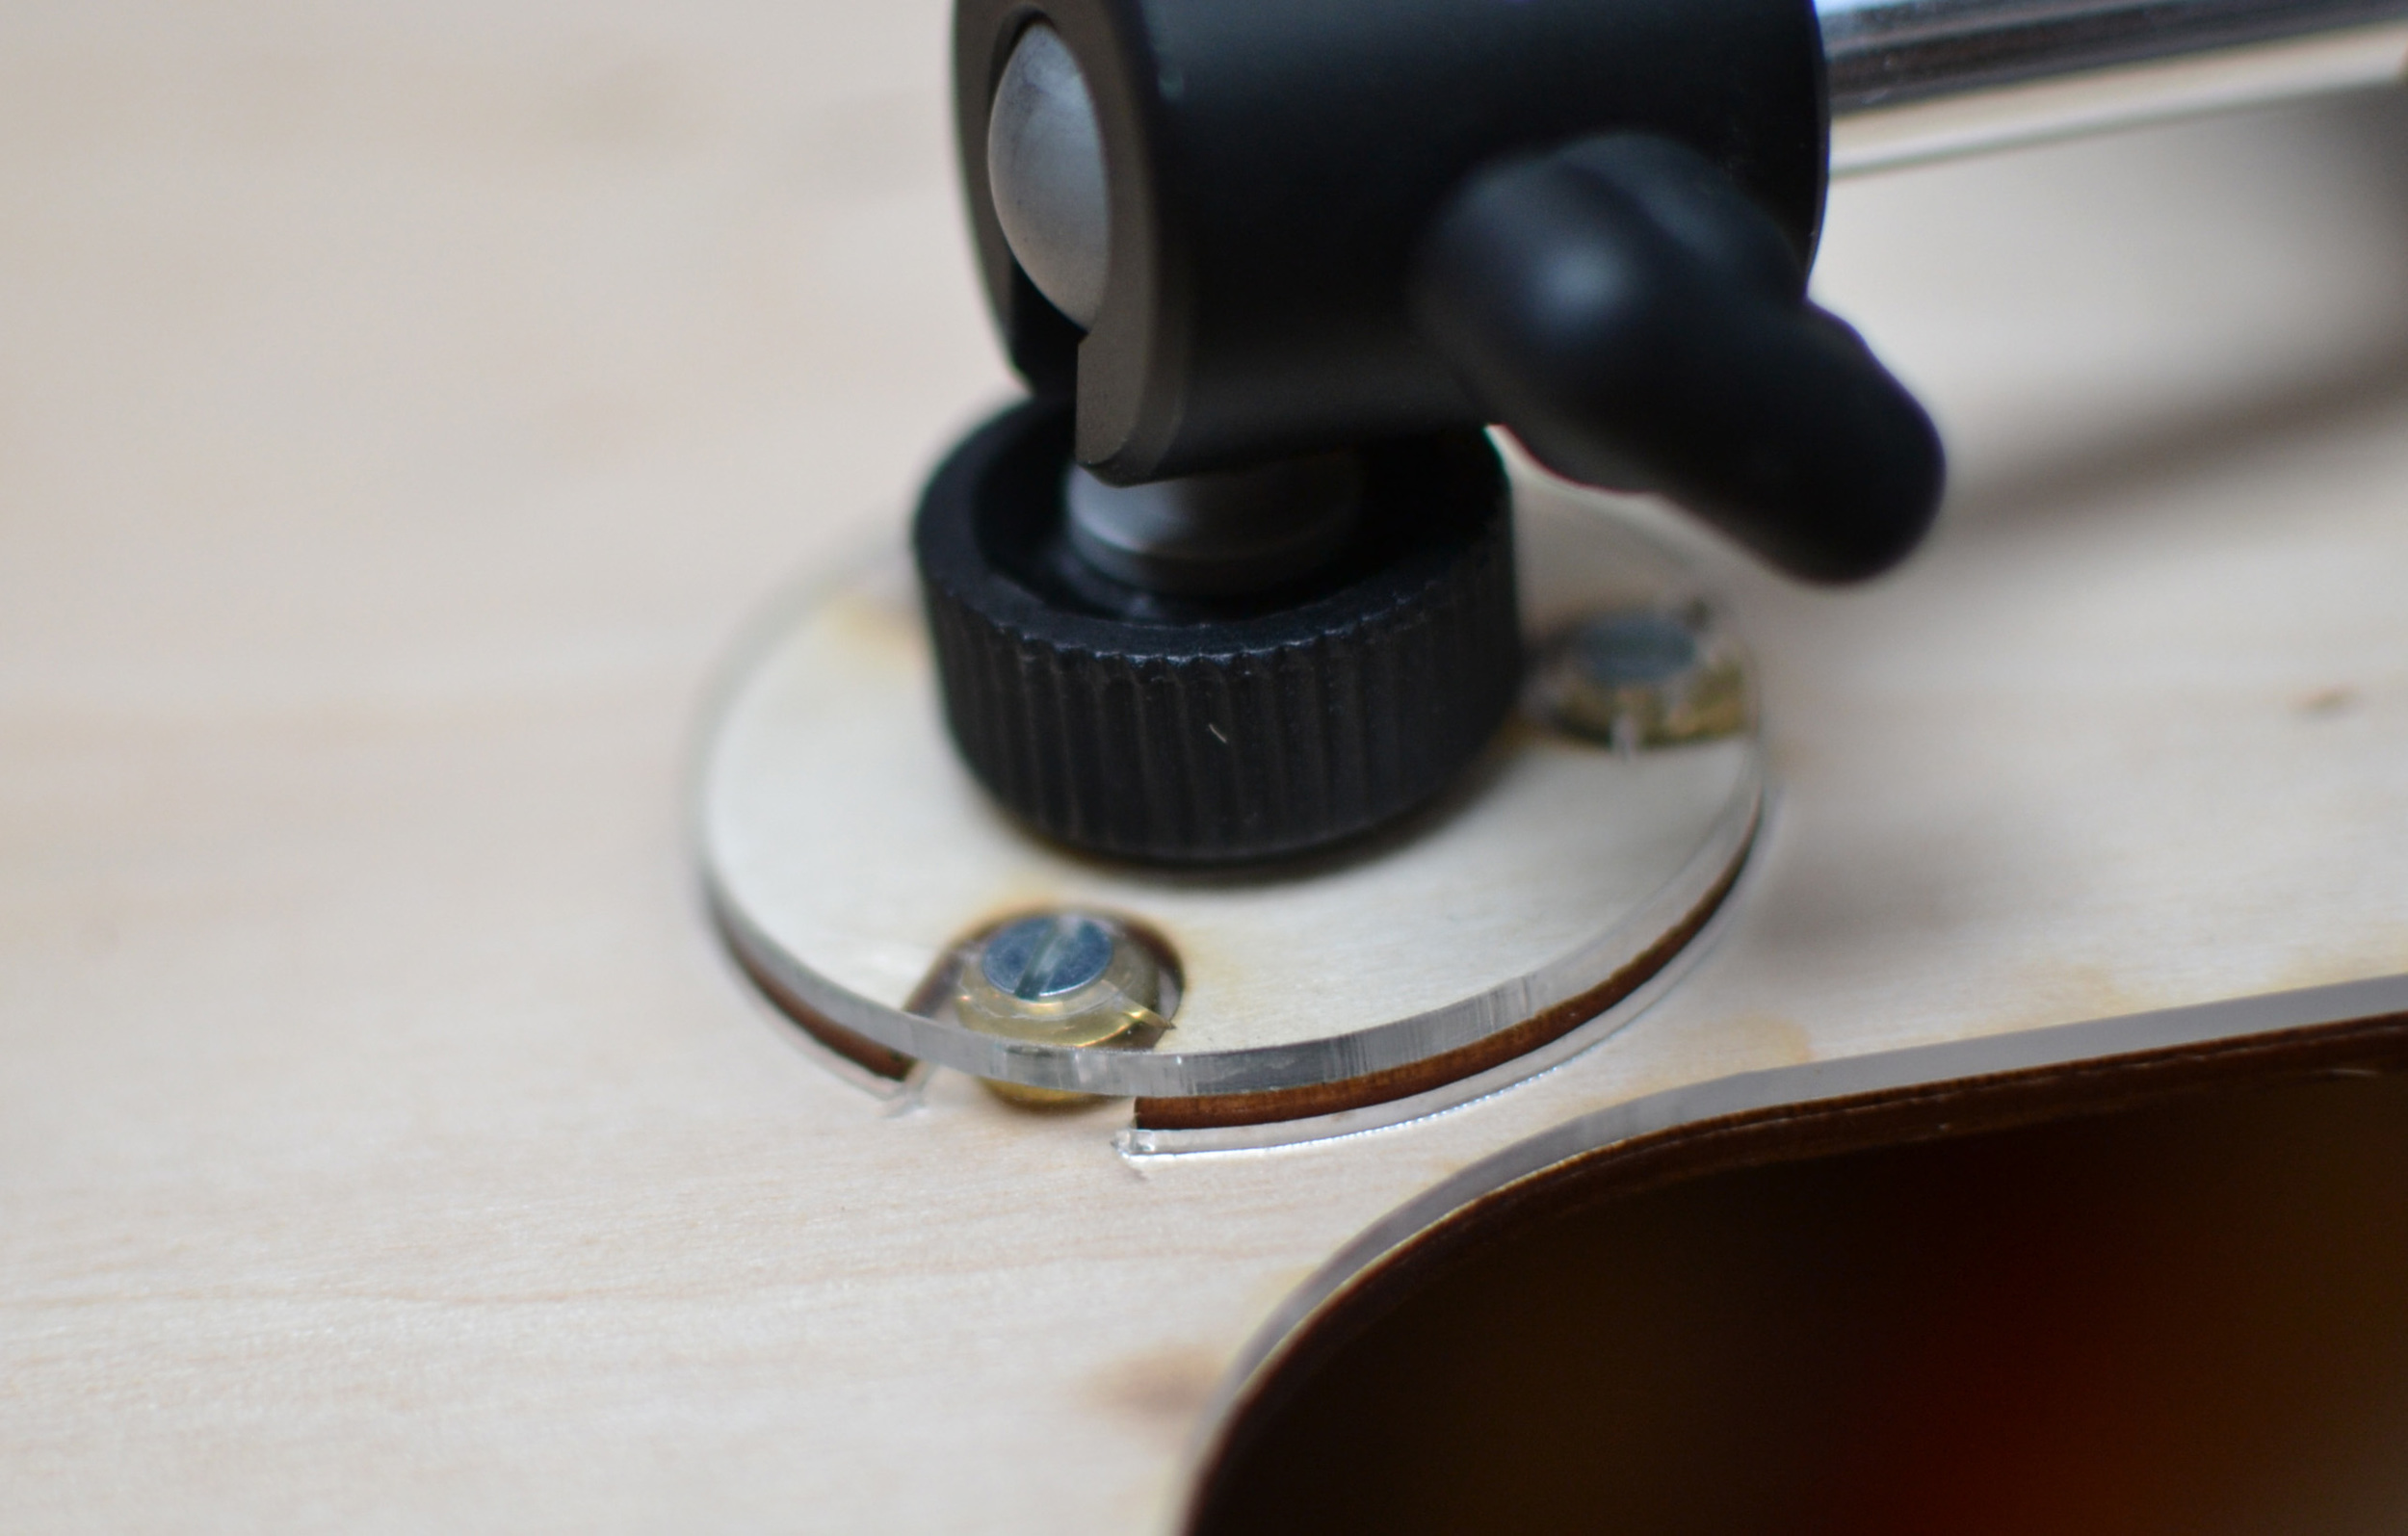
- on plywood - position the raised dais using the acrylic as a guide. attach the dais with wood glue before hammering in the T-nut.
Other materials

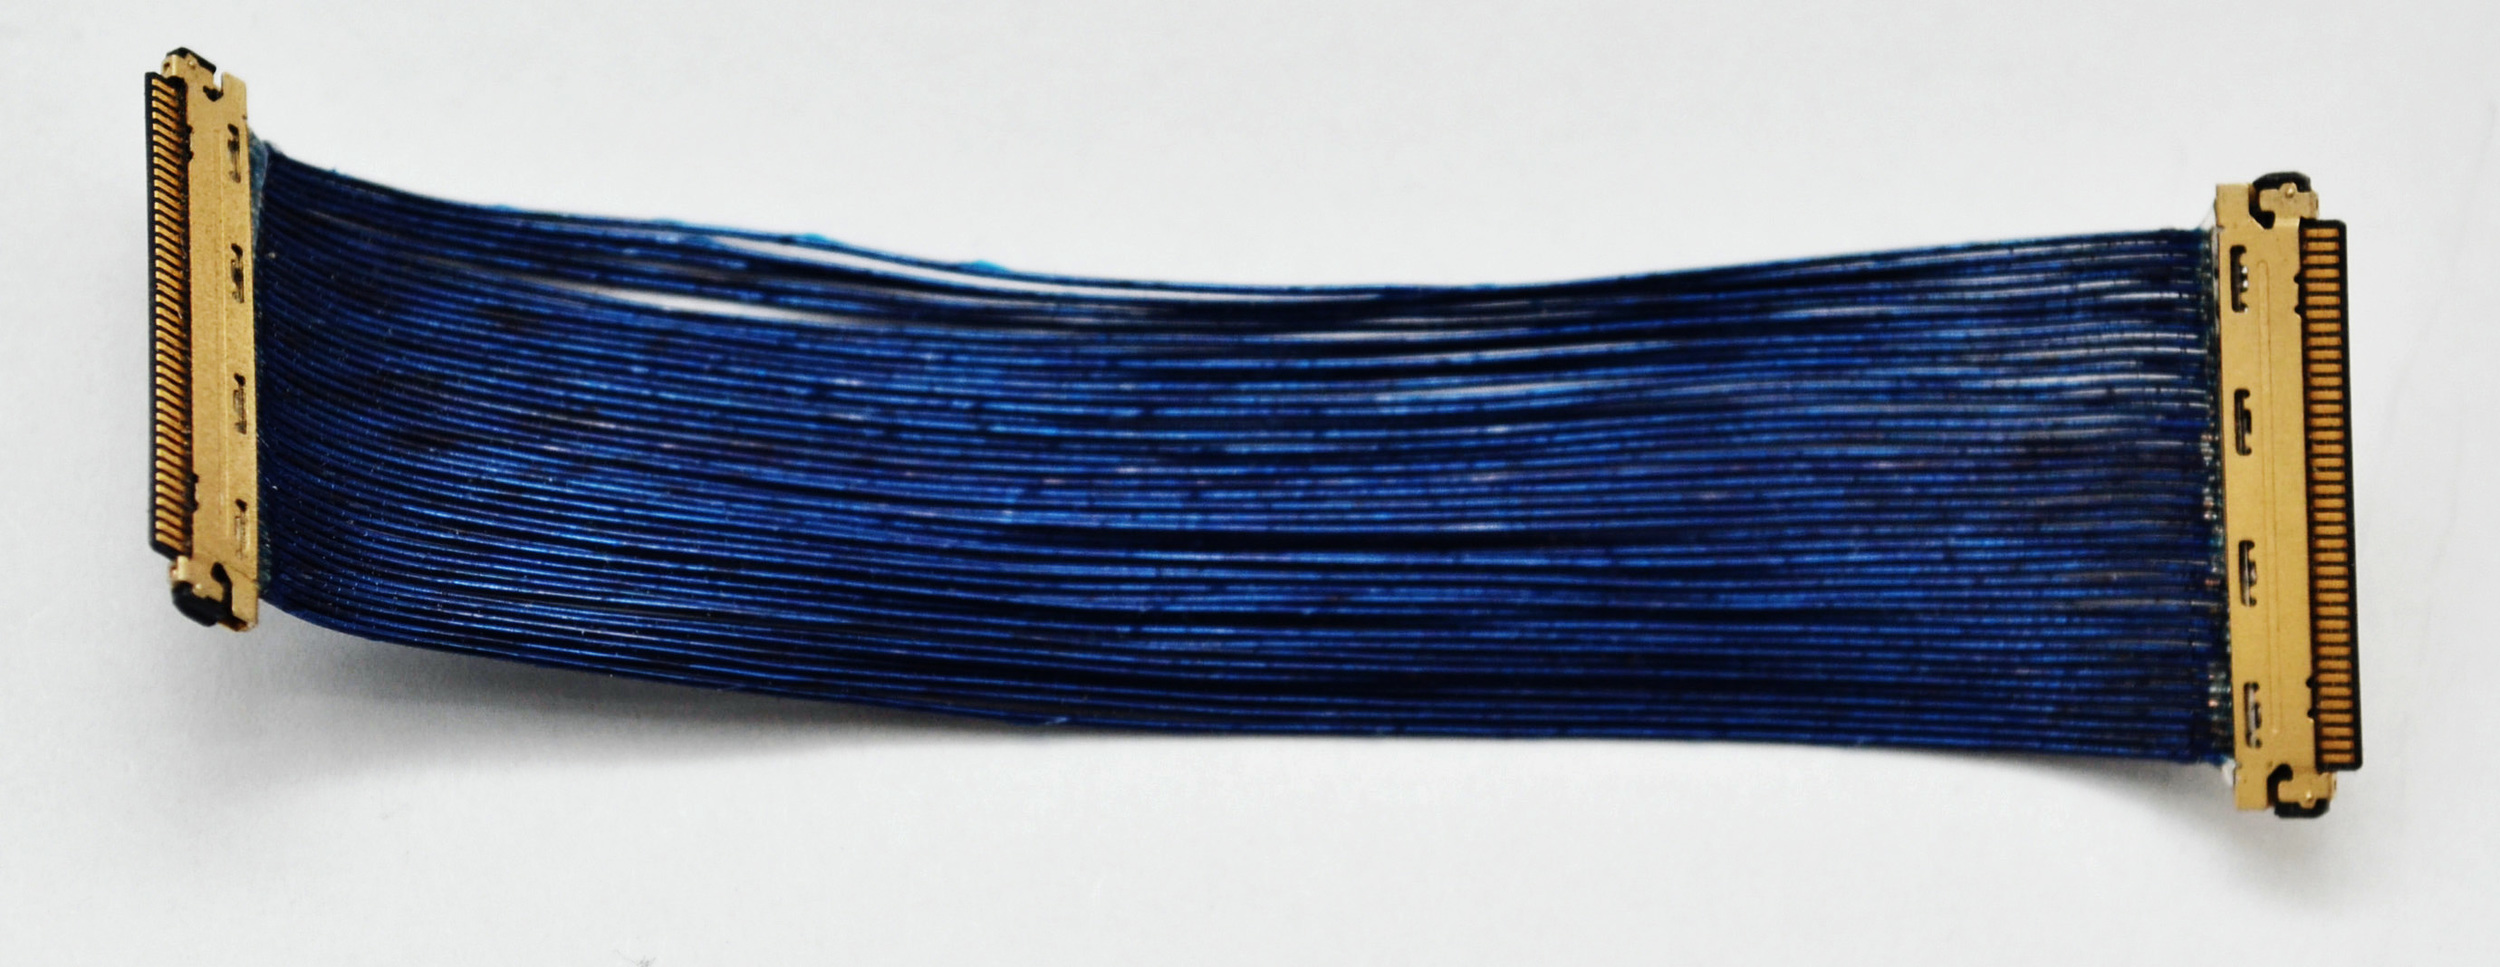
Micro-coaxial cable:
- 70mm-long 40-wide micro-coaxial straight cable with two IPEX 20473-040T-10 connectors (contact me for availability)
Chassis assembly hardware:
- to attach PCB to acrylic backplate
- to hold entire chassis together
- mount to boom arm
- 1x Steel Tee Nut for Wood, Zinc-Plated, 1/4"-20 Interior Thread, 5/16" Long Barrel, 3 Prong
- 3x Steel Single Wave Washer, Number 6 Screw Size, 0.160" ID, 0.438" OD
- 3x Plain Steel Round-Base Weld Nut, 4-40 Thread Size, 3/8" Base Diameter, 1/8" Barrel Height
- 3x 18-8 Stainless Steel Flat Undercut Head Phillips Machine Screw, 4-40 Thread, 3/8" Length
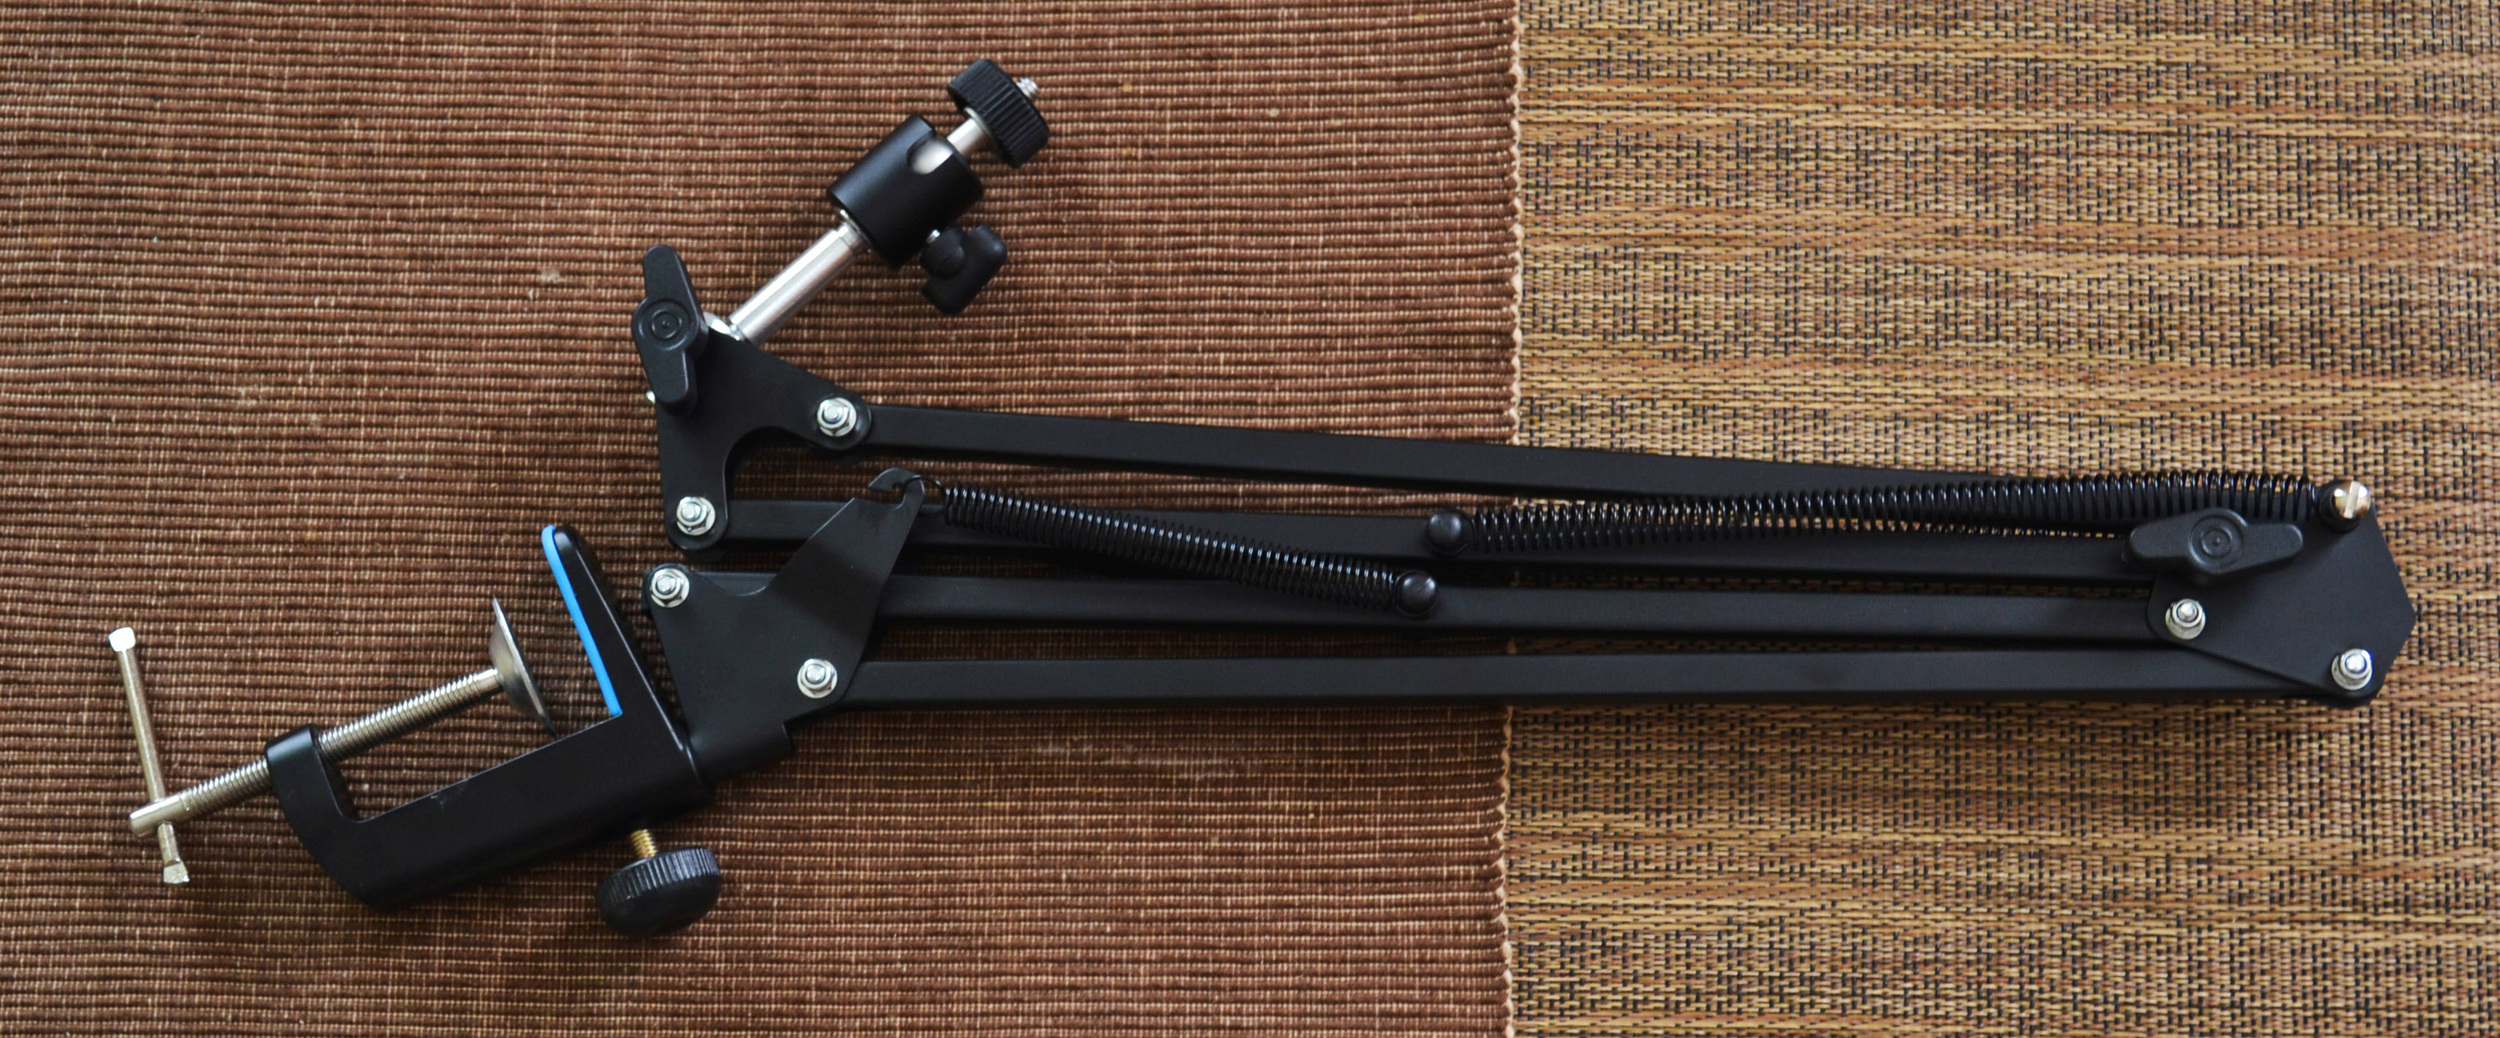
Boom arm:
- mini ball head camera mount
- microphone boom arm stand
- (two components attached together with superglue or Loctite)
Power supply: